Introductions (Skip if you’re in a hurry. I won’t know.)
In these tutorials, I’m going to show you how to create and run your own psychology experiments using psychopy. Psychopy is a library of python scripts. We’ll actually end up using a lot of “raw” (or “from scratch”) python code, but the psychopy library makes things easier by allowing you to, e.g., show an image stimulus, with a relatively short command that would have taken more “raw” python code to perform.
Each tutorial will demonstrate, and explain line by line, how to create a different study in psychopy. Each post will result in a template for a study that can be adapted to your own needs. Each successive post will introduce newer, more advanced building blocks that can be used to make increasingly more sophisticated studies. The earlier ones, for instance, will be simple surveys while later ones will be, e.g., reinforcement learning tasks, a complex memory study.
I’m going to take a “least you need to know” approach. Emphasis will be on code that is understandable to newcomers. This will often mean that it is not the most elegant code. (It may give more computer-sciency types a headache). Think of it as a tutorial for absolute beginners who are in a hurry, who just want some functioning code.
Final note: when coding, it is absolutely necessary to spell things the same way each time, remember that everything is case-sensitive, and periods, commas, and indentions, stuff like that, need to be consistent. If you forget any of this stuff, the computer doesn’t “know what you meant”. If you define a variable called “myVar” and then refer to “myvar” later, the computer will just say, “I don’t know what ‘myvar’ is, so I stopped.”
Installation (literally DIY)
Start by going to https://www.psychopy.org/download.html and install psychopy. I’m not going to go into the specifics for installing. Make sure to get Psychopy3. This should be easy to do because you have to go digging for Psychopy2.
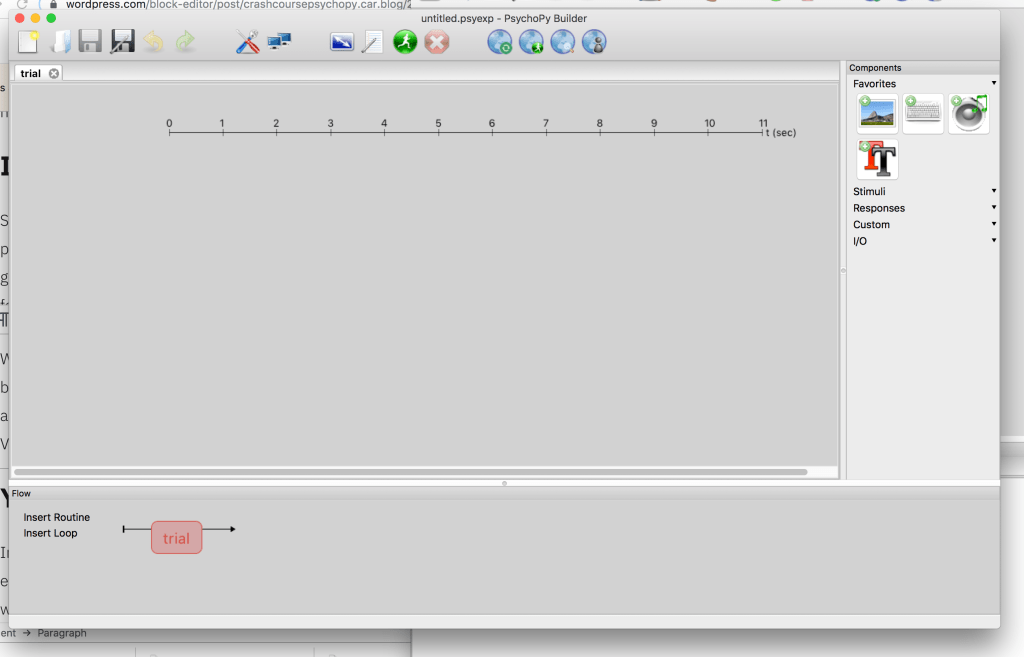
When you get it up and running, you might see the “builder view” pictured below. This is the default interface for psychopy. I don’t know anything about “builder view”.
To get the normal editor view go to View/Open Coder View, and close “builder view”.

Your very first (?) psychopy “study”
In this first tutorial, I’m going to keep things very simple. The “study” you’ll end up with at the end will simply show participants a message, “Hi, welcome to the study…” and then shut off. You may not be able to publish the results, but you’ll acquire a basic foundation for doing more interesting stuff later on.
The first line!
from psychopy import visual.Copy and paste this into the psychopy script editor. This line takes the big, cumbersome library of scripts available in “psychopy” and pulls out only the “visual” stuff that we need at the moment.
Make sure to comment!
Before going much further, I want to talk about commenting. To place a comment in python you insert the hashtag “#” character either on its own line or at the end of a line. Your computer will ignore everything starting at the “#” until the end of the line it appears on. The computer will run all the non-commented lines and ignore anything that’s commented. This is very handy to understand what your code is doing. Most beginners don’t do enough commenting on their code. They come back the day after they started a project. They don’t remember what any of these commands are doing, how they’re doing it, etc. It makes it difficult to continue writing. Even experienced coders who want to come back and make some changes will have to do a lot of unnecessary work trying to mentally reconstruct what all their code is doing. So, commenting is a habit you want to adopt early. Unless something becomes very routine for you, you should explain what things are doing with comments in the mean time.
Another useful thing about commenting is for debugging your study. Let’s say you have some code like the following.
#This will show the video
show.video()
#This will get the participant's reaction to the video
ask.for.reaction()
Let’s suppose that “show.video()” plays a video that takes about 10 minutes and then “ask.for.reaction()”, which will run after the video has completed, poses a couple of questions to the participant, record their responses, etc. What if “ask.for.reaction()” isn’t working properly? You don’t want to watch that 10-minute video every time you test revisions to the code. An easy solution is to put a “#” in front of the “show.video()” command to skip that part while you work out the kinks in “ask.for.reaction()”.
Create a window
For the next line, I’m not going to go too deep into what’s going on yet. Basically, we’re creating a window in which to display our stimuli and calling it “window.”
window = visual.Window(monitor="testMonitor",fullscr=False)This creates a variable called “window” that you can refer to later. The only thing I really want to point out is the second argument “fullscr=False”. By putting it equal to “False” this will make it to where, when you run the study, it’ll show up in a small window on your screen. This makes things a bit easier while you’re still in the writing/debugging process. Later, when you’re running this on actual participants, you’ll want to change it to “fullscr=True”.
Display some text (or, get some text ready for display)
The next line you’ll want to enter is as follows:
message = visual.TextStim(window, text='Hi, welcome to the study...')This line is creating a text stimulus that you can call on later. It’s putting the text “Hi, welcome to the study…” into a format that’s easier to put into action later on. You could call it “chicken.trot” instead of “message” if you wanted to, but it’s better to give variables descriptive names to make your code easier to deal with.
The “visual.TextStim” might seem a bit odd. What it’s doing is referencing the “TextStim” function saved in the “visual” library. Functions are (usually) multi-line commands that can be called at a moment’s notice without having to write out every line every time. For example, here’s a “square_this()” function.
# defining the function
def square_this(n):
     return(pow(n,2))

# use it to calculate 2^2
square_this(2)
# prints "4" in the console

# use it again to calculate 3^2
square_this(3)
# prints "9" in the console
It might seem unnecessary to basically save such a short command to be able to re-use with a slightly shorter command, but you’ll learn how wrong this intuition is, if you’re having it.
“visual.TextStim()” and “square_this()” both accept arguments. Not all functions do. You could write a function that doesn’t take any inputs and would be called with just an empty “()” at the end of it.
For “visual.TextStim” the first argument needs you to specify which window to display the text stimulus in. In the second argument — note: different arguments/inputs are separated by commas — you specify that you want the text to be “Hi, welcome to the study…”. Sometimes, a function doesn’t “expect” certain arguments to be in a certain order, so you have to specify what piece of information you’re providing like this, “square_this(what.to.suare=2)”. “visual.TextStim” can take all kinds of arguments specifying text color, font size, etc.
Also note that many functions assume certain arguments by default. For “visual.TextStim”, it’s assumed that the text coordinates (i.e., where the text will be located on the screen when displayed) are “(0,0)”. The first 0 refers to how far from the center of the screen HORIZONTALLY you want it to appear and the second one specifies how from from the center VERTICALLY you want it to appear. Positive values push stimuli upward or rightward. Negative values push stimuli downward or leftward. If you don’t specify, it assumes you want it in the middle, “(0,0)”.
Generating and displaying text
The way psychopy works with stimuli is this: you create some stimuli, you “draw” that stimuli in preparation for displaying it, then you display it. You have to specify each of these steps.
message = visual.TextStim(window, text='Hi, welcome to the study...')
message.draw()
window.flip()
What these lines will do is (1) create something to draw called “message” (we’ve already done this), (2) draw this message, sort of like on a cue card we’re about to show the participant, and (3) show them the card via “window.flip()”.
Before you hit “run” …
If you were to execute the code we’ve written so far, psychopy would show the “message” for a fraction of a second and then close. To get around this, and be able to marvel at our first (?) study, we’re going to tell python to wait 4 seconds before shutting off.
import time
time.sleep(4)
By putting these two lines at the end, your (1) importing a library of time-related functions that you can implement, and then calling a function called “sleep”. You have to specify that “sleep” is from “time” though, hence the “time.sleep()”. Finally, “time.sleep” requires you to specify how long you want your computer to sit there and do nothing in units of seconds, hence the “4” inside the parentheses.
One more thing… you should really move “import time” to the beginning of your script, right before or after “from psychopy import visual”. You don’t want to be in the habit of opening libraries right before you need them and cluttering things up in the process.
The final product
This is what the entire script should look like (with some comments added in).
#   Get all the tools you need out on the table
from psychopy import visual
import time

#   Creates a "window” to display everything in
window = visual.Window(monitor="testMonitor", fullscr=True)

#   This variable, called "message" creates something we can ".draw()" and
#   ".flip()"
message = visual.TextStim(window, text='Hi, welcome to the study…')

#   This takes the "message" and gets it ready to be shown on the screen
message.draw()

#   This displays whatever you have prepared to show on the screen
window.flip()

#   This tells the computer to wait X seconds before proceeding.
#   Without this, the computer would flash your # message on the screen real fast
#   and then shut down
time.sleep(4)
All you have to do now is save the script, name it something like “my_masterpiece”, then hit the green “running man” button at the top of the window.
Try to contain your excitement.

Hi, Mark in the section “Display some text (or, get some text ready for display)” there is not a closed parenthesis and it says to copy and paste it exactly, I don’t know if that was meant to be there so the individual can add extra words if need be, but just wanted to let you know since it gave some trouble when copying and pasting.
LikeLiked by 1 person
Thanks for catching that, Ryan! I’ve just fixed– I mean, I was testing to see if anyone would notice. Well done! You must always pay attention to simple syntax stuff like this when coding. Gold star!
LikeLike